The Family Car Garage · Horndean, Hampshire
Your car, in expert hands.
A family-run MOT, servicing and repair centre trusted by Hampshire drivers for over thirty-five years. Booked online, done properly, returned right.
Free instant check · when's my MOT due?
What we do
Everything to keep you on the road.
From MOTs and servicing to diagnostics and repairs, for nearly all makes and models, with a fair price agreed up front.
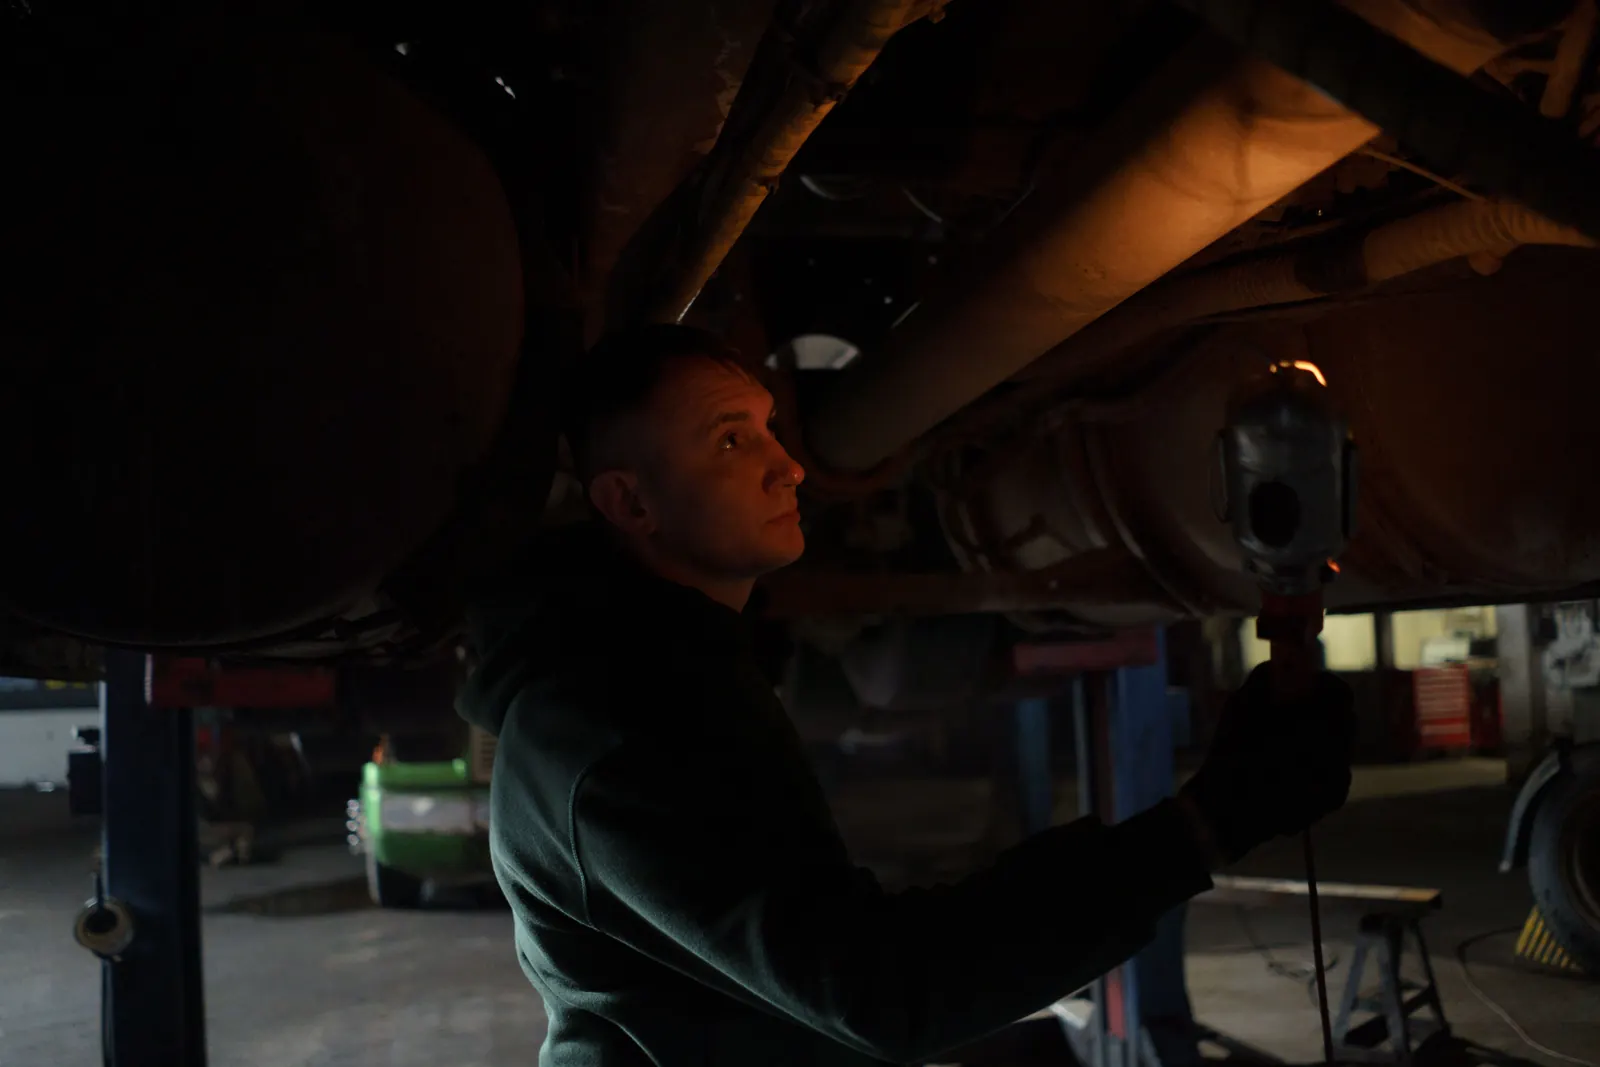
MOT Testing
Class IV testing with a free re-test if your vehicle fails first time.
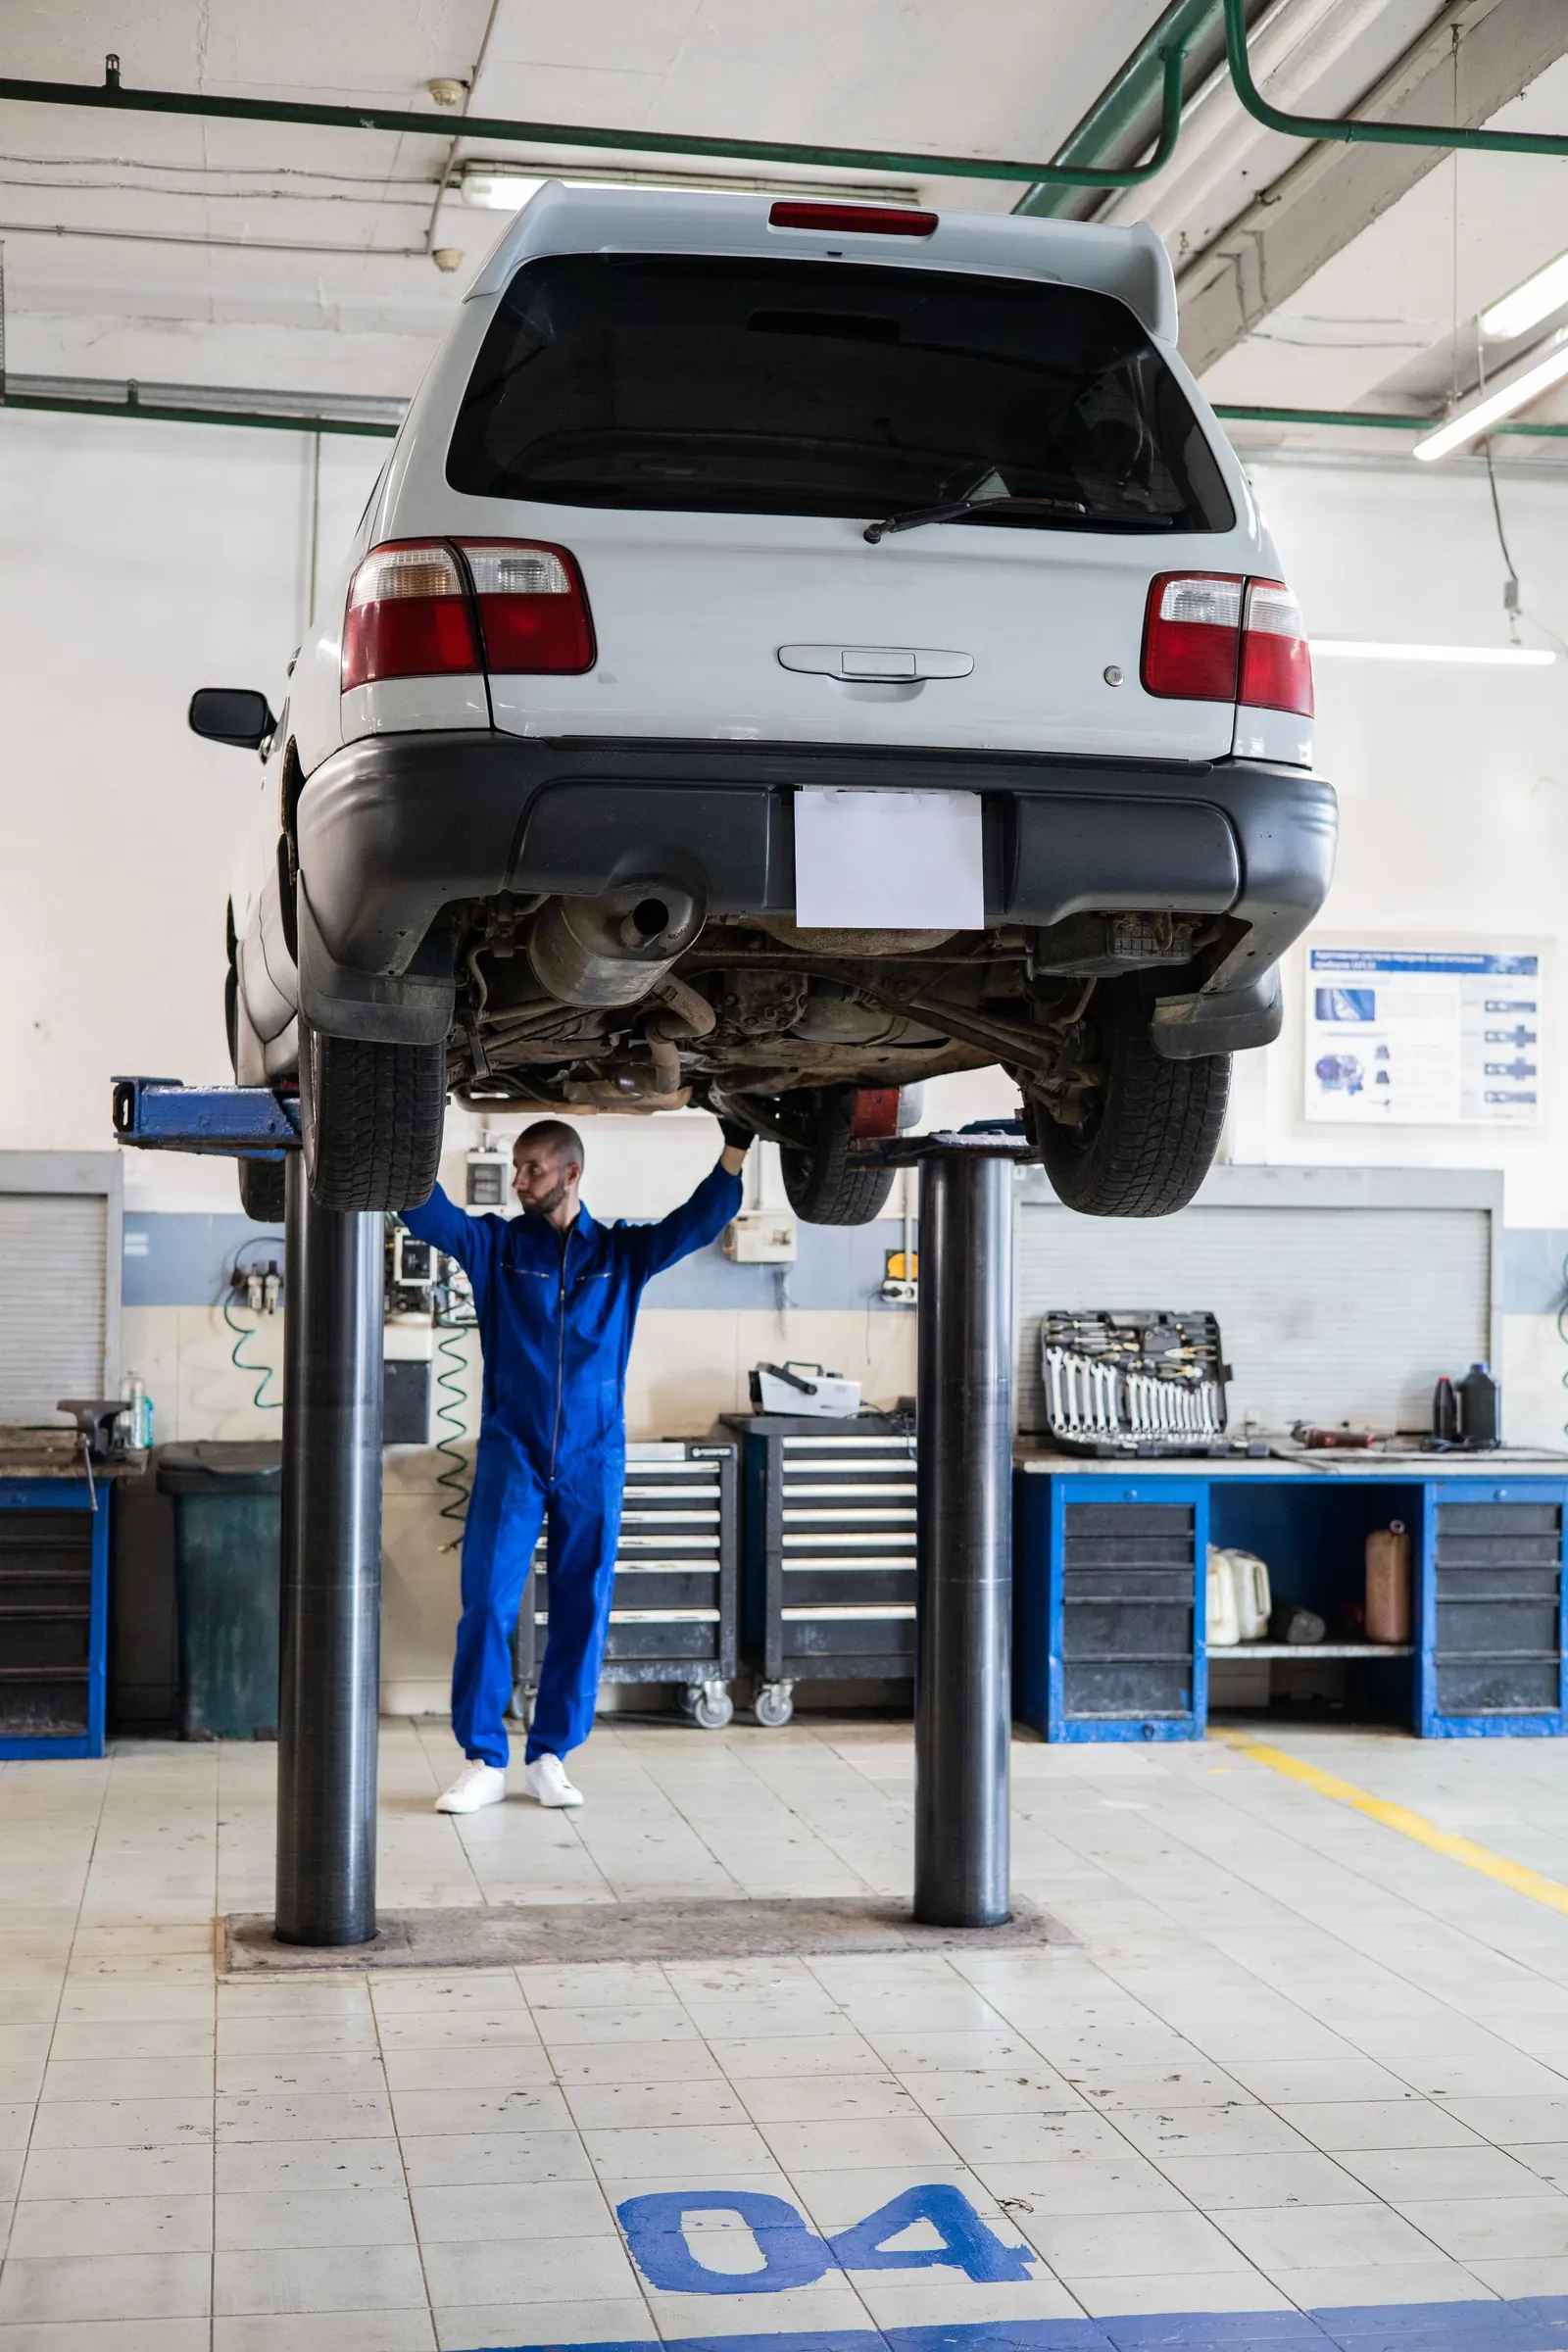
Car & Van Servicing
Interim and full services for nearly all makes and models.
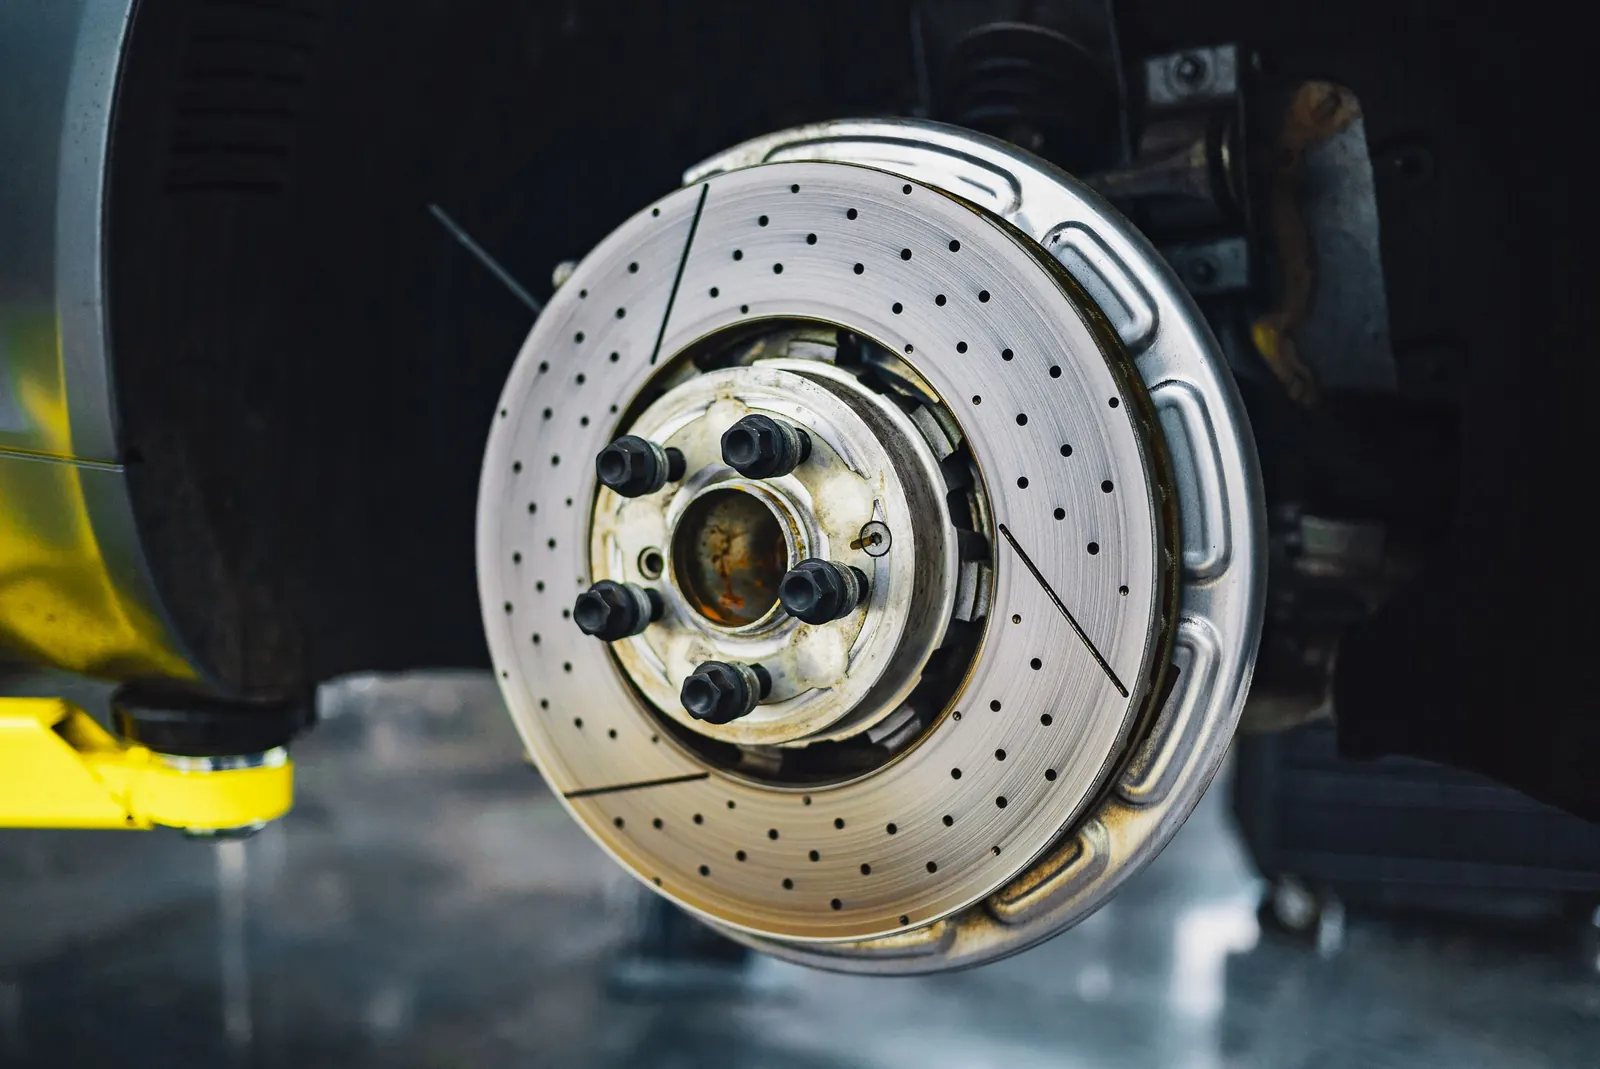
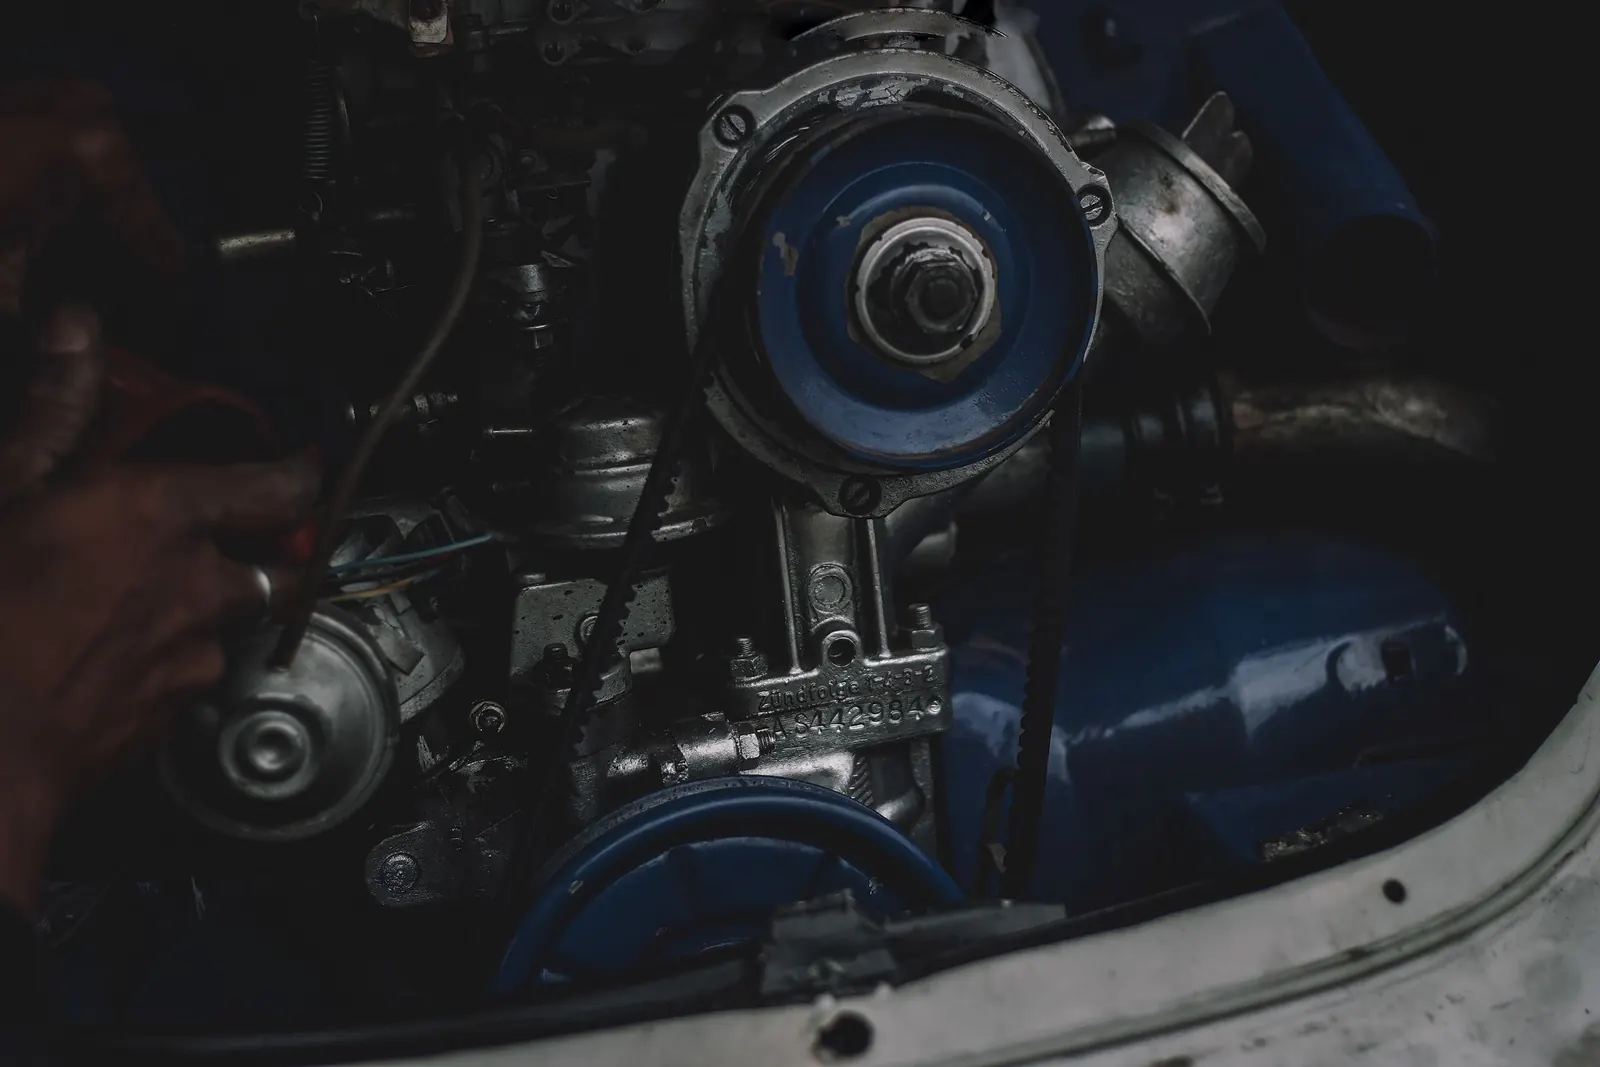
Maintenance & Repairs
Cambelts, brakes, steering, suspension and wear-and-tear, kept safe.
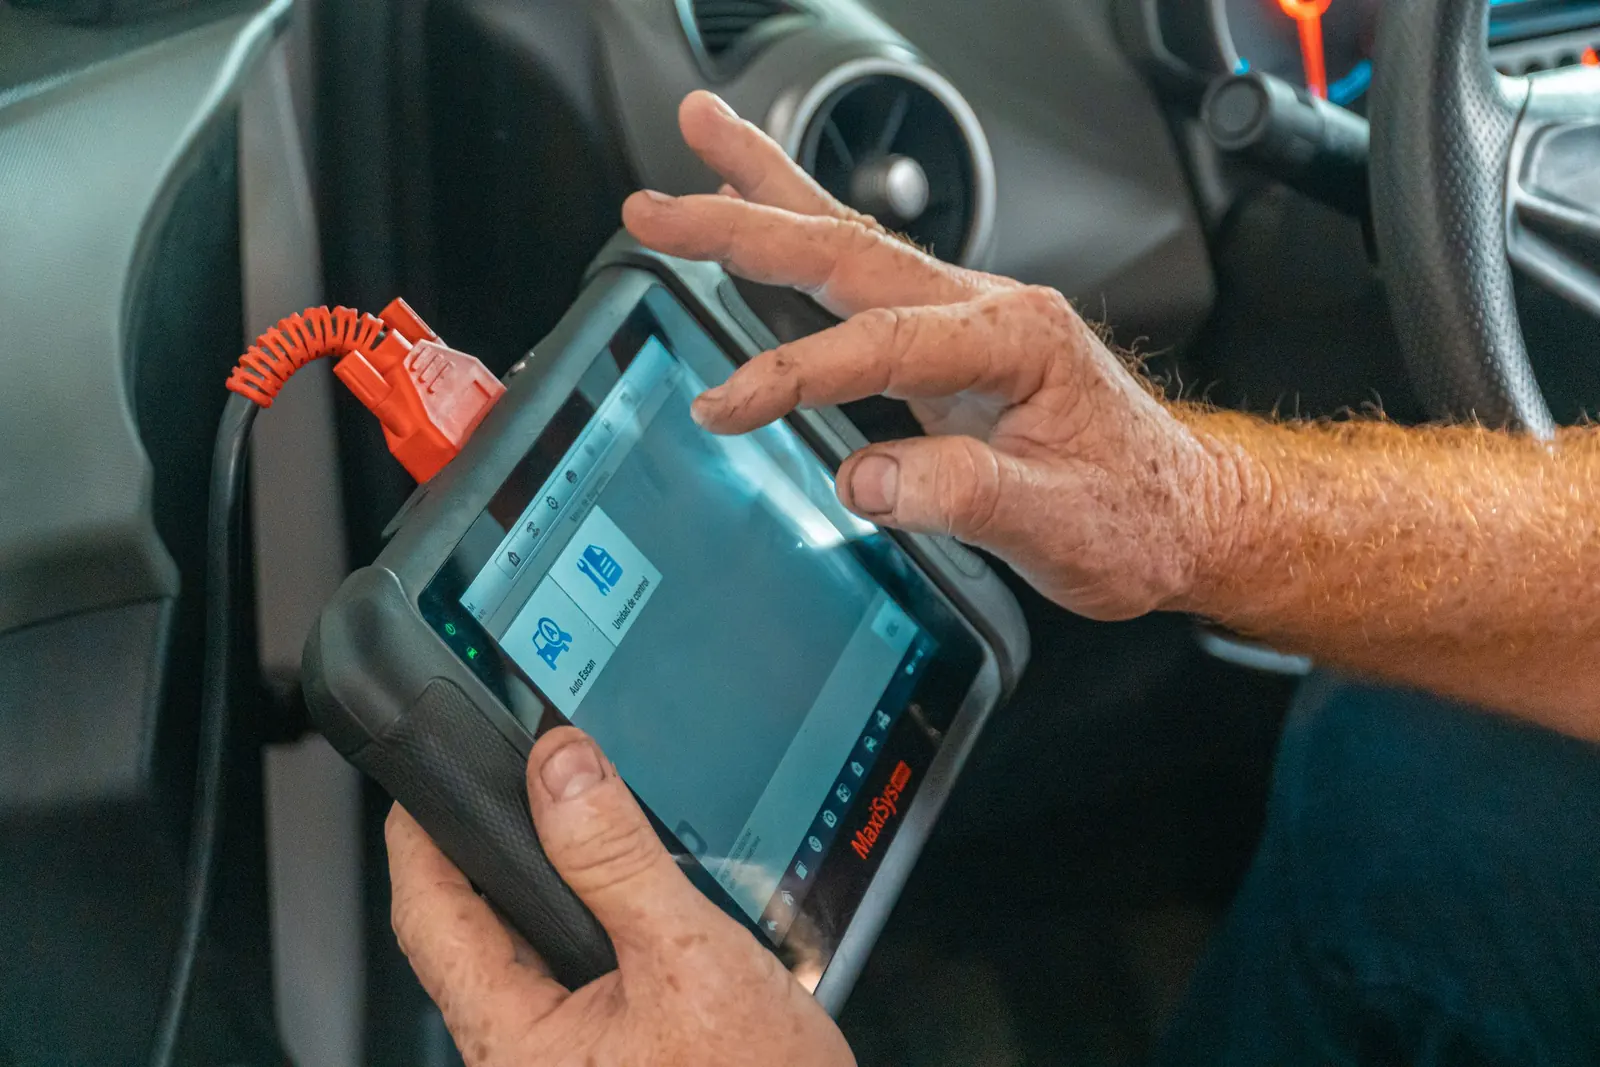
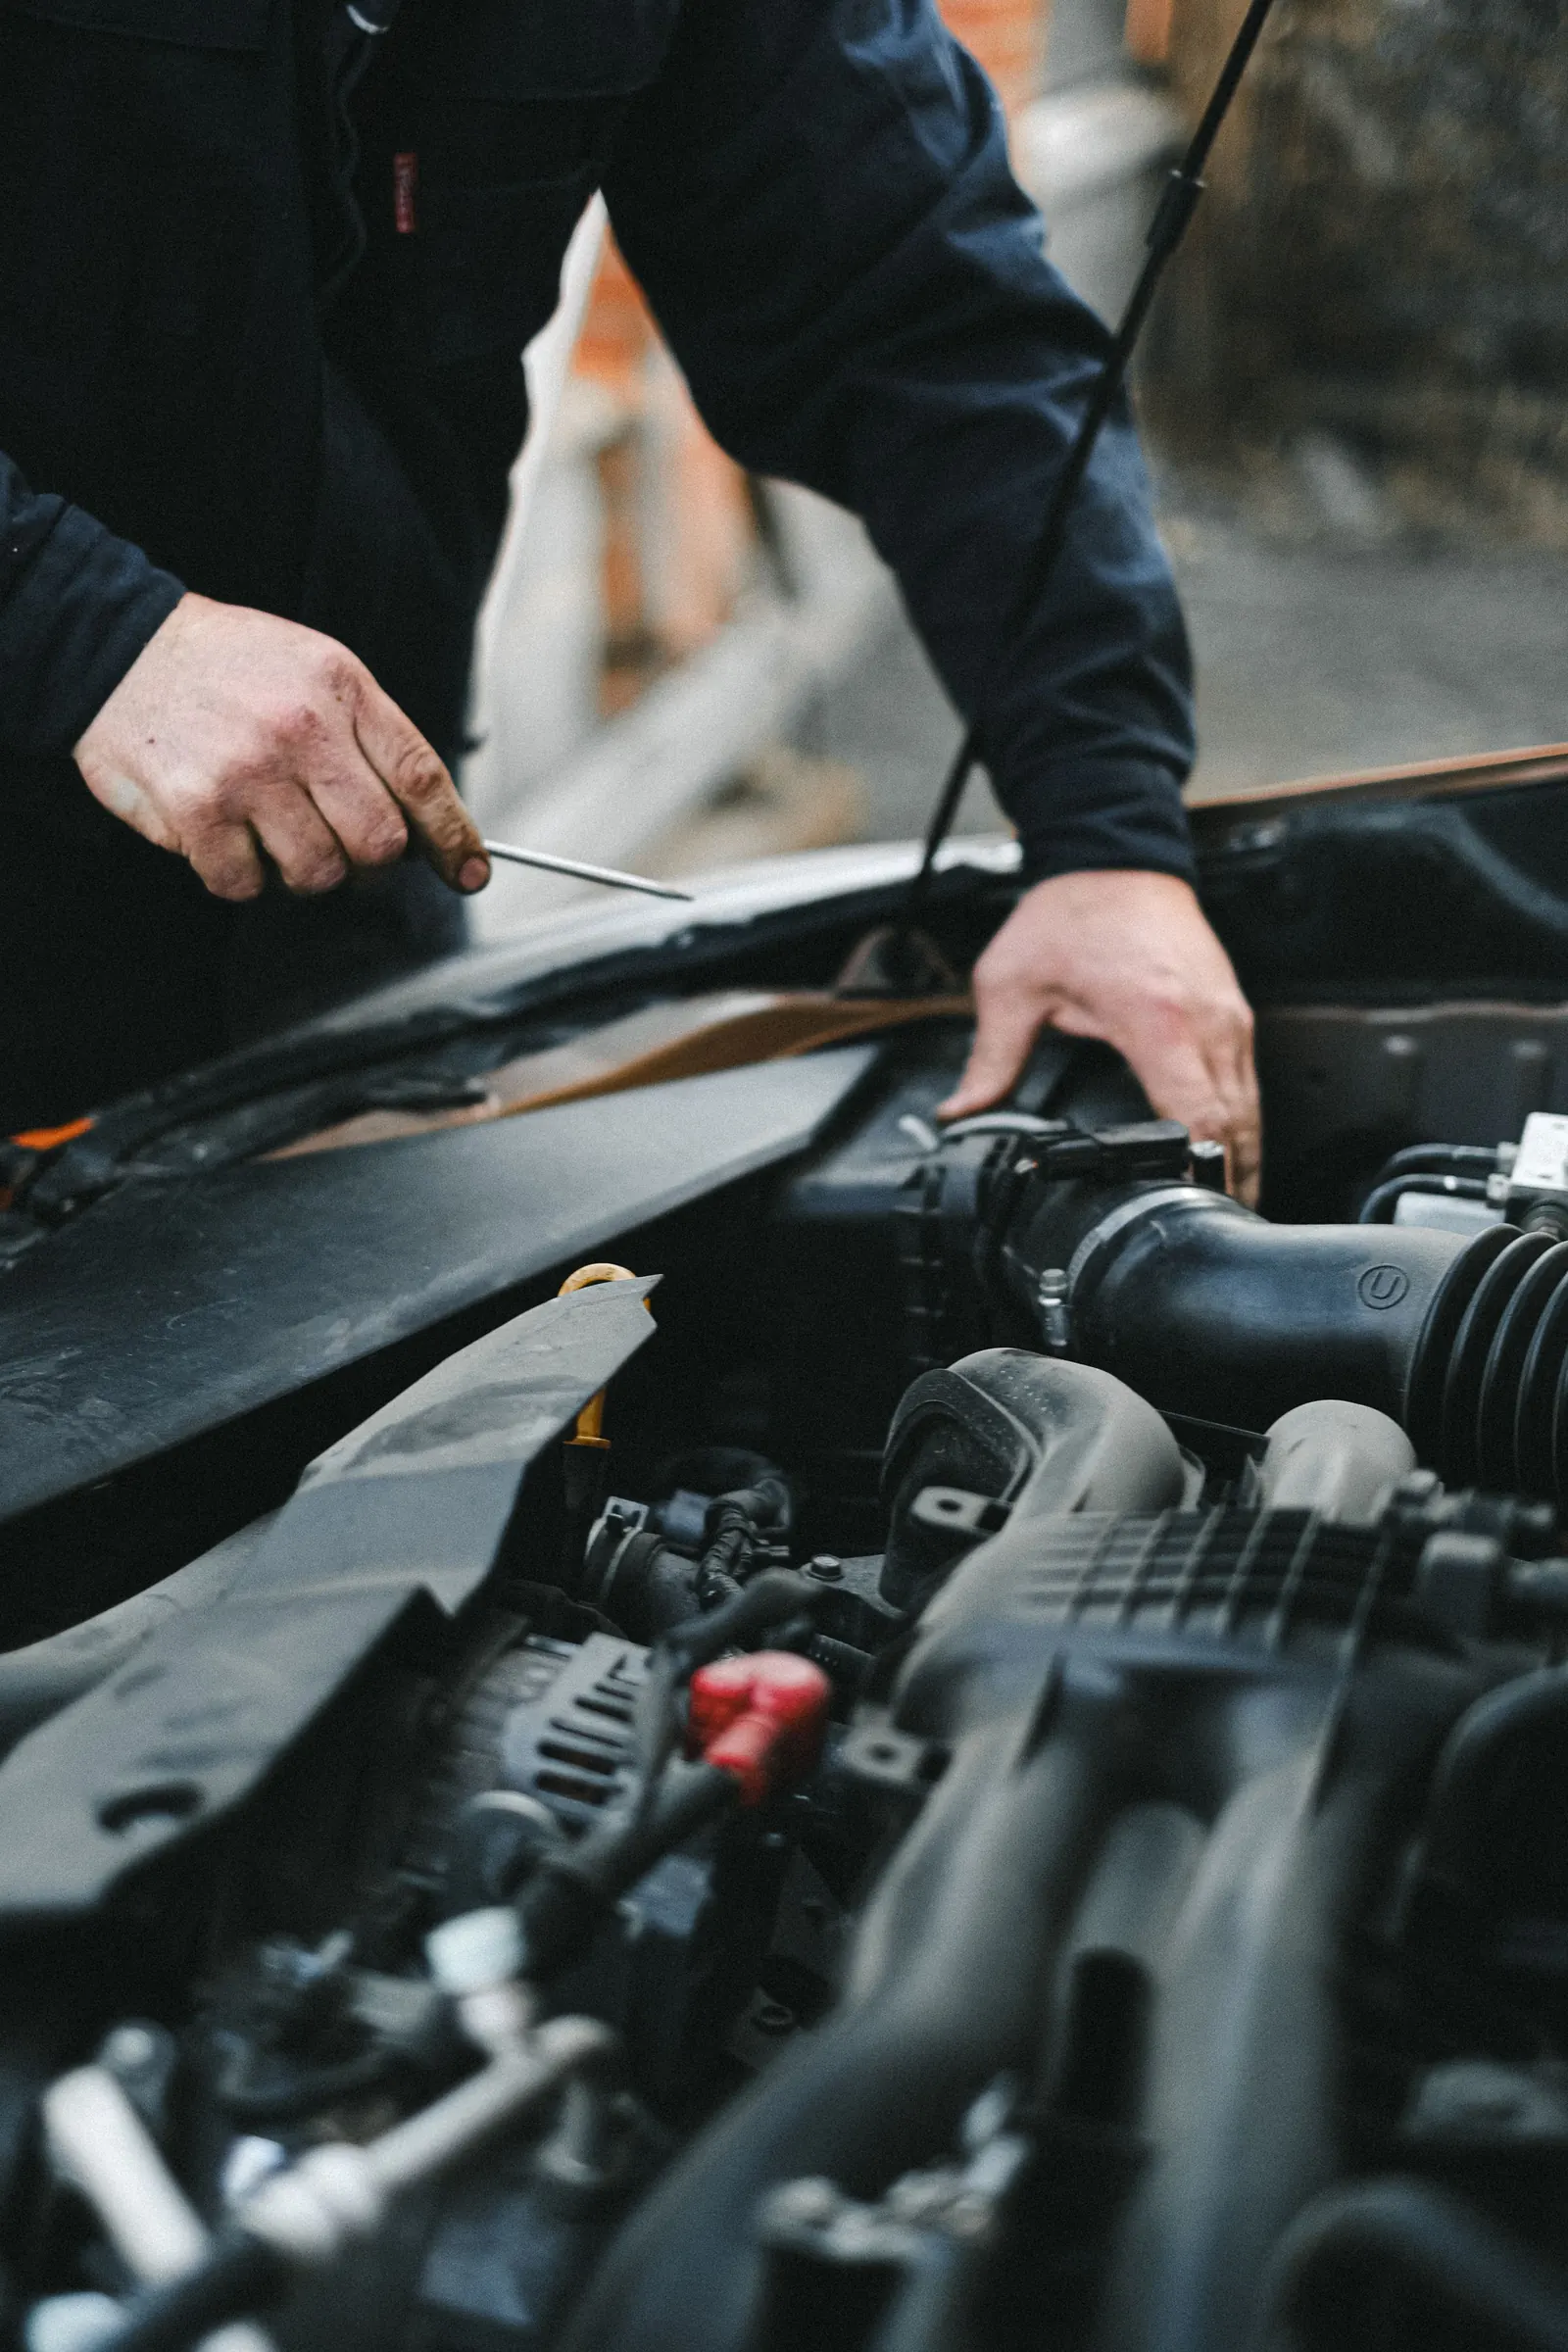
Diagnostics
Main-dealer-level equipment to read fault codes and find the real problem.

Since the early days
Thirty-five years on London Road.
We've been in the Horndean area long enough to know that quality and experience are what make us the garage to choose. Honest work, a fair price agreed up front, and your car returned in full working order.
Why Windmill
A family-run garage that earns its reputation.
Who better to look after your car than people who have done it, here, for decades?
- 01Almost 30 years of hands-on experience
Real expertise, built on the same forecourt, year after year.
- 02Latest equipment, qualified team
The right tools for modern diagnostics and repairs, and the people who know how to use them.
- 03Honest advice, every time
We tell you what needs doing now and what can wait. No surprises on the invoice.

Owner's notes
The family car. A cross-section.
Every family car carries a few mysteries. These are the ones we see every week, and numbers 1 to 5 are ours to fix.
- 01The warning light that's been on since March
Plug in, read the codes, know in minutes. Diagnostics
- 02The rattle only you can hear
We'll find it. We always do. Repairs
- 03Wiper blades from a previous decade
Swapped while you wait. Other services
- 04Brakes that have survived a thousand school runs
Checked honestly, replaced properly. Repairs
- 05Tyre tread of uncertain age
Free check, straight answer. Tyres
- 06Where the sweets live
That one's on you.
What drivers say
Rated by local drivers.
Real-time booking diary
Book your MOT or service
in under a minute.
Choose a date and time that suits you from our live diary, 24 hours a day, seven days a week.