If your vehicle’s MOT is approaching, giving the braking system a quick once‑over at home can save you stress, cost and possibly a failed test. Brakes are one of the most critical parts of the inspection, so it’s smart to carry out a simple check yourself before you head into the garage.
Why the brakes matter ahead of MOT
The braking system is heavily scrutinised during the annual MOT. The tester examines not just the stopping power of the brakes but also the condition of components such as pads, discs (or drums), hoses, fluid and the handbrake. A failure in any of these areas can lead to an MOT fail, which means time, money and hassle you could avoid.
By doing a DIY inspection ahead of time you’re not trying to replace parts unless necessary, but you’re identifying potential issues and giving your car its best chance of passing.
What the MOT tester will look at
When you book in for your MOT the examiner will assess both the functional performance of the brakes and their condition. Key checks include:
- The brake pedal: ensuring it doesn’t travel too far, is firm and has a grip surface.
- Brake fluid: correct level, no obvious leaks or contamination.
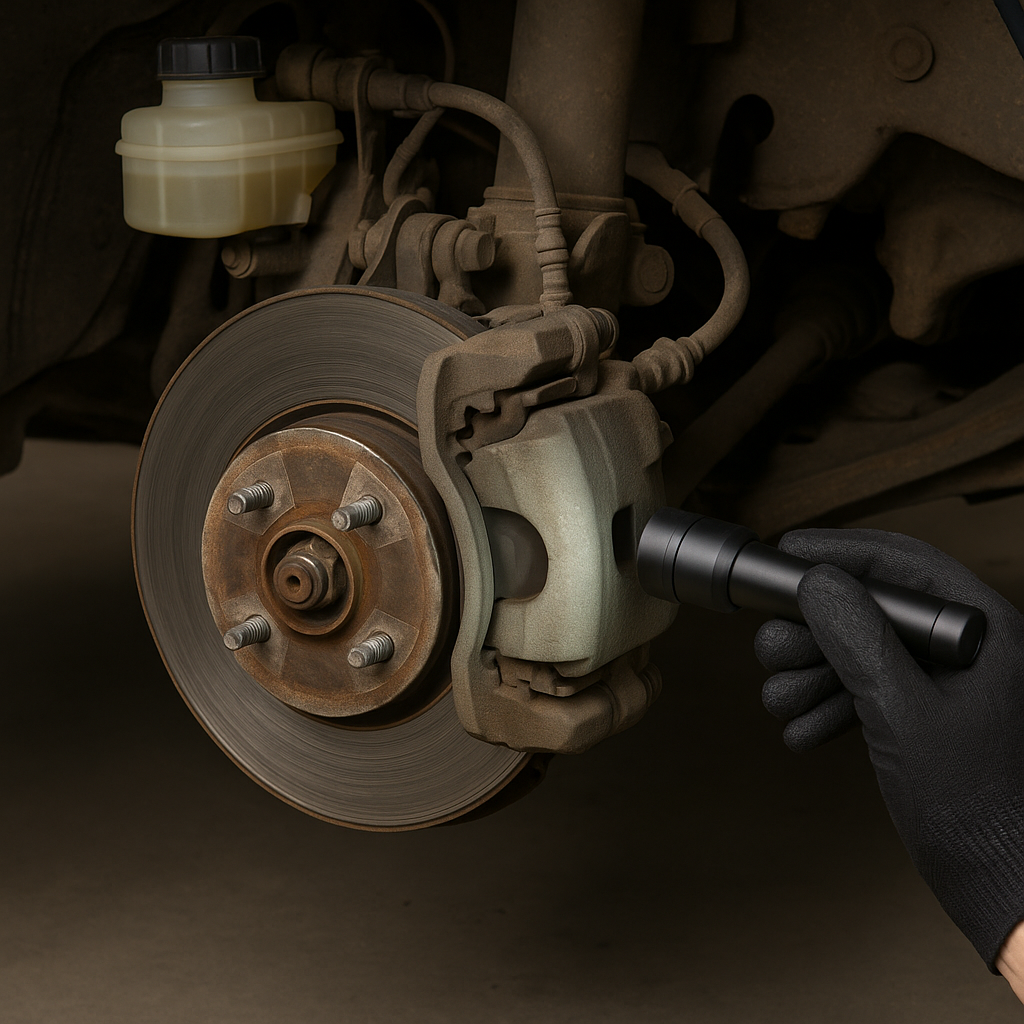
- Brake pads and discs (or drums): visible wear, condition of surfaces, any damage or corrosion.
- Brake hoses and pipes: cracks, bulges or leaks.
- Handbrake or parking brake: must hold the vehicle securely.
- Electronic systems (if fitted) such as ABS warning lights.
If any of these fall below acceptable standards, the vehicle could fail the MOT.
DIY Pre‑MOT Brake Inspection Checklist
Safety first
Park the car on level ground, engage the handbrake and switch off the engine. If you’re removing a wheel, use jack stands and place the wheel chocks behind the opposite wheels. Wear gloves and eye protection if you’ll be working around dirty or rusty components.
Visual checks
Brake fluid – Under the bonnet open the brake fluid reservoir. The fluid should sit between the minimum and maximum markers and be clear in appearance, not dark or murky.
Brake pads – Look through the wheel spokes or, if you feel comfortable, remove the wheel. If the friction material looks very thin (for example less than a few millimetres) you are entering high‑risk territory.
Brake discs (or drums) – Examine the disc surface for deep grooves, rust or uneven wear. The surface should appear smooth and even. If you spot heavy grooves, deep rust or warping the component may be near or below minimum safe standard.
Hoses and pipes – Check flexible brake hoses and rigid metal brake pipes for signs of cracks, bulges, corrosion, leaks or damage. Any of these indicate a component that could affect braking force.
Handbrake/parking brake mechanism – Check that the handbrake lever or button engages as expected and holds the car securely. If it feels loose or ineffective you could be flagged on your MOT.
Pedal and linkage – With the engine off, press the brake pedal and note how it feels. The pedal should be firm, not spongy, and should not sink to the floor. Also ensure that the pedal rubber (if fitted) is not worn smooth.
Functional checks
Once the visual inspection is done, take the car for a short, safe drive. Notice if the car pulls to one side on braking, if there are unusual vibrations through the pedal or steering wheel, or if you hear squealing or grinding noises when you brake. All of these are warning signs of a braking system that may be compromised.
Check for any dashboard warning lights related to brakes or ABS – these may indicate underlying issues.
Common faults and early warning signs
Some of the most frequently encountered brake issues that could lead to MOT failure include:
- Worn brake pads: If they are down to the wear indicator or below the minimum thickness (often around 1.5 mm in some cases) then failure is likely.
- Uneven pad wear: If one pad looks much more worn than the opposite side it may indicate a sticking caliper or slide pin issue.
- Leaking or damaged hoses and pipes: A fluid leak or compromised hose can reduce braking force significantly.
- Brake fluid contamination or low level: If fluid is dirty, oily or below the minimum marker that will raise concerns.
- Handbrake weakness: If the handbrake cannot hold the vehicle firmly, it may be flagged.
- Discs heavily grooved, rusted or warped: These may reduce braking performance or fail visual checks.
Noticing any of these signs early means you’re in a good position to get things sorted before the MOT.
What to do if you find a problem
If your inspection reveals an issue, don’t panic but treat it as a priority. If the pads are slightly worn but still acceptable you may be able to monitor them, but if you are close to limits or there is a leak or major issue, you should book in with a qualified technician. Do not rely on hoping it will pass unchecked. Driving with a significant brake fault is unsafe and could invalidate insurance.
If you can’t determine the severity of a defect or feel uncomfortable doing the checks yourself make that call to a specialist – you’ll likely sleep better knowing your brakes are solid for the MOT.
Final pre‑MOT touches
Before you head in for your MOT, just re‑check a few things: ensure the wheel nuts are properly torqued if you removed a wheel, ensure all caps and reservoirs are secured, clean off any visible brake dust from the wheels (helps the tester inspect visually) and keep a note (photo or log) of your inspection to show you have taken proactive care.
Arrive at the test centre confident that you’ve done your homework and your braking system is in the best shape possible.
Conclusion
Taking the time to carry out a basic brake inspection ahead of your MOT test is a wise step. You don’t need to be a mechanic – just methodical, observant and safety conscious. A little effort now can save you money and stress later, and gives you peace of mind that your car’s brakes are ready. If you’d prefer a professional look‑over, we’re here to help. Book your pre‑MOT check today and give your braking system the expert once‑over.