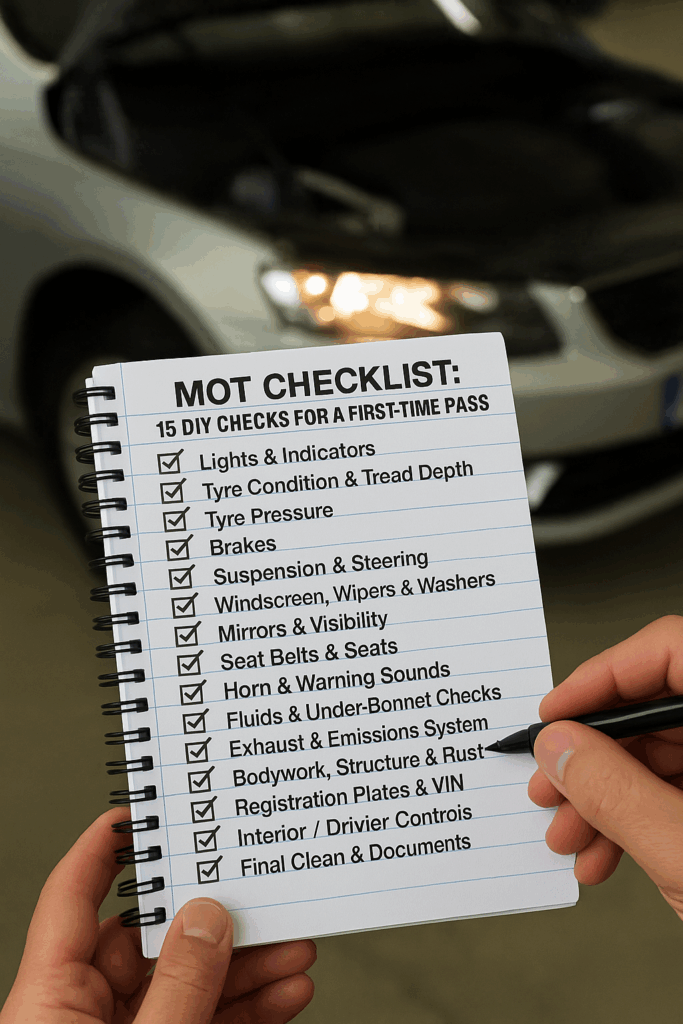
Preparing your car for its MOT can make all the difference between a first-time pass and having to come back for a retest. Here are fifteen simple DIY checks you can make at home before your MOT to help you avoid common failures and save time, money and hassle.
What the MOT Test Covers
The MOT assesses whether your vehicle meets road safety and environmental standards. It checks items including lights and signals, tyres (tread, pressure, condition), brakes (pads, discs, parking brake), steering, suspension, exhaust and emissions, mirrors, windscreen and wipers, body structure, seat belts and seats, registration plates and VIN number.
Many failures stem from relatively minor and avoidable issues. Data shows that lighting and signalling faults, tyre condition, brakes and visibility problems are among the most common reasons cars fail MOTs.
15 Checks You Can Do Before Your MOT
- Lights and Indicators
Test all exterior lights: headlights (dip and full beam), sidelights, brake lights, fog lights, indicators and hazard lights. Check that bulbs work, lenses are intact, and lights are clean. - Tyre Condition and Tread Depth
Use a 20p coin test or a tread depth gauge to ensure tread depth is at least 1.6 mm across the central three-quarters. Check for bulges, cuts or uneven wear. Ensure all tyres match specification and size. - Tyre Pressure
Inflate tyres to the correct pressure (as specified in the owner’s manual or car door frame). Under- or over-inflated tyres can be a failure point if your car has a warning system. - Brakes
Listen for squealing or grinding noises. Check that the pedal feels firm, not soft or spongy. Look (if possible) at brake pads and discs for visible wear. Test the handbrake to make sure it holds on a slope. - Suspension and Steering
Push down on each corner of the car. It should return without excessive bouncing. Listen for knocks or creaks when going over bumps or turning. Check for leaks from shock absorbers or struts. - Windscreen, Wipers and Washers
Check the windscreen for cracks or chips, especially in the driver’s central view. Test wiper blades for damage or streaking. Make sure washer jets work and washer fluid is topped up. - Mirrors and Visibility
Mirrors must be secure, clean and correctly adjusted. Ensure windows are clean and there are no stickers or obstructions that impair vision. - Seat Belts and Seats
Check belts for fraying, damage and correct operation. Check that seats adjust properly and move-lock securely. Ensure all mounting points are secure. - Horn and Warning Sounds
Make sure the horn works and is loud enough. Any warning lights on the dashboard should not be illuminated (for example ABS, airbag, engine faults) unless there is a known fault and repair is planned. - Fluids and Under-Bonnet Checks
Check levels of engine oil, brake fluid, coolant, power steering fluid (if fitted), and washer fluid. Look for any leaks. Make sure the fuel cap seals correctly. - Exhaust and Emissions System
Check for exhaust leaks or unusual noise. Look for rust or holes in the exhaust pipe or silencer. Make sure emission control parts, such as the catalytic converter, are intact and that there is no excessive smoke. - Bodywork, Structure and Rust
Inspect for rust, particularly in safety-critical areas such as the chassis, suspension mounts, brake and fuel lines. Check that doors, bonnets and boot lids open, close and latch securely. Look out for sharp edges or damage. - Registration Plates and VIN
Ensure number plates are clean, undamaged, in the correct font and spacing, and clearly legible. The VIN (vehicle identification number) should match documentation and be present and visible. - Interior and Driver Controls
Check seat belts, adjustment mechanisms and door locks. Make sure the driver’s view of the road is unobstructed. Floor mats must be secure and not interfere with pedals. Ensure all switches and controls (lights, indicators, heater, demister) work. - Final Clean and Documents
Clean the car, especially lights, registration plates and glass. Clear out unnecessary clutter. Make sure you have the required documents, including the log book (V5C) if needed and MOT due information. Check any previous advisory items and address them where possible. It is also useful to check the test centre’s hours and appointment schedule so you arrive on time.
Common Failure Areas and How to Avoid Them
Many MOT failures come from things that are easy to miss. Lighting and signalling faults are a major cause. Brakes, suspension faults and worn tyres are also frequent culprits. Visibility issues, such as bad wipers, cracked windscreens or dirty windows, often contribute. Checking these before the test helps.
If any component feels unsafe or you are unsure how to check it properly, consider getting a professional to inspect or service that part. Some faults will need mechanical tools or specialist knowledge.
Day-Before and Pre-MOT Tips
On the day before your MOT:
- Walk around the car and turn all lights on, checking from outside for correct function.
- Pump up tyres to the correct pressure and clean surfaces including lights, number plates and glass.
- Remove any dashboard warning lights if they relate to issues you have fixed.
- Clear the interior and remove mats or items that could obstruct the driver.
- Gather documents you may need.
On the way to the test, drive normally so the brakes, suspension and engine are warm and any latent faults show up, such as noises or leaks.
Conclusion
A first-time MOT pass is almost always possible if you take time to carry out these checks. They are simple, often require no special tools and can reveal problems that are easy to fix well before the test. Preparing in this way not only boosts your chances of passing but also improves safety and may save you from costly repairs afterwards. Book your MOT with confidence knowing you have done what you can to avoid common failures.

